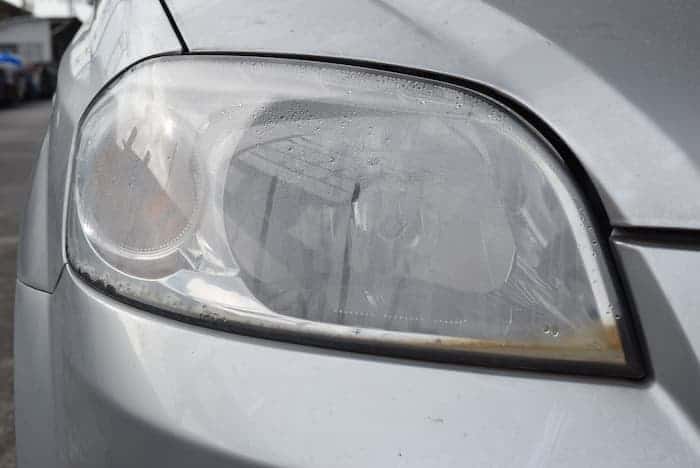
You can use a few simple tricks if you see a little area of moisture forming in your headlight without breaking the seal. It’s pretty easy to break the seal between your headlight lens and housing, but once it’s damaged, you’ll need to be very careful when replacing it. If you’re not sure how to work with sealants, it’s a good idea to take your car to a mechanic.
Check your headlight housing vent before removing the seal. Although the specific location of the venting will vary depending on your car’s make and model, most headlight systems contain a vent to prevent condensation accumulation. A blocked vent is a known cause of mild condensation. Debris, spider webs, or dust could be the blame. Wipe the vent with a soft cloth or blow it out with compressed air. If you blow or push something into the headlight housing, you’ll have to break the seal to get it out.
Condensation on a large scale involves more complex techniques. Depending on your money, available time, and the quantity of condensation, you can attempt various options. The headlight unit must be removed for major condensation removal. For instructions on removing the bulb, electronics, plugs, and any other components that can be removed, consult a service manual. Remove the headlight housing with care, following the removal technique.
Using a hairdryer to dry out the damp air without breaking the seal. Blow hot, dry air into the vent or on the outside of the headlight assembly with a hairdryer. It should dry out as it heats up. To see if this technique worked, wait until your headlight unit cooled down.
Finally, you’ll need to remove the seal if you want to get water out of the headlights completely. Before you begin, consult a service manual to learn how to remove your seal. Unless your assembly has a replaceable seal, this technique will be far more complex and will require the use of a heat gun. If you’ve not used a heat gun before in a circumstance like this, your headlight assembly is not the best place to start. This guide is based on the fact that you have a replaceable seal. Hand tools such as sockets and screwdrivers, silica gel packs, a lint-free cloth, and a sealant are required for this removal technique. It takes longer than other solutions, but it should completely remove any moisture deposit.
Remove the seal and the clear plastic headlamp cover from the housing with care. Ensure that you haven’t overlooked any screws or other attachment points. With your cloth, wipe away any remaining moisture. Before using the cloth, make sure it is clean and dry. Majority of the moisture can be removed by wiping the interior with a cloth, although this isn’t a complete solution.
Use silica gel packs to absorb any remaining moisture. These are designed to soak up any moisture in the air and put in the headlight assembly. If you don’t want a pack bouncing around in front of your headlights, ensure they’re not obstructing the light or being exposed to the bulbs.
Check for any residual moisture or debris in your headlight assembly once again. To properly reseal your assembly and avoid more moisture, follow the instructions below. This is the most critical step since the wrong reinstallation can let additional moisture into your headlight.

0 Comments